
Replit in the Classroom
Published:
In this workshop, we will explore opportunities to utilize Replit in the classroom for both small classroom exercises and assignments. We will integrate Replit projects with additional tools and techniques including GitHub Classroom and POGIL instructional methods.
Using External Libraries
Using Replit, you can add external library support with many languages. For example, if you import a package, Replit will automatically download and import the corresponding library when you compile or run the project. However, if you have your own custom library that you’d like to import, you can do this as well.
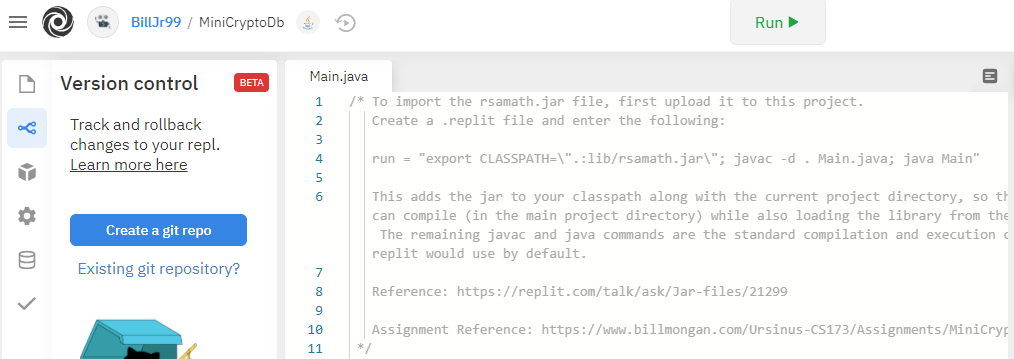
If you are using a Java project, you can upload a jar file to your project (in my example, I uploaded a file called rsamath.jar to a directory called lib). You will have to tell Replit how to compile your project with this library in your CLASSPATH, and we can do this by creating a configuration file within the project called .replit. Add the following text to this file [1]:
run = "export CLASSPATH=\".:lib/rsamath.jar\"; javac -d . Main.java; java Main"
This adds the jar to your classpath along with the current project directory, so that your Main.java can compile (in the main project directory) while also loading the library from the rsamath.jar file. The remaining javac and java commands are the standard compilation and execution commands that replit would use by default.
Here is an example project [2] that computes a value and its modular inverse from prime number inputs:
Database Access
While we’re at it, Replit provides a key/value data store to each project that we can use to store those generated keys, in case you’d like some values to persist in between runs of a student’s project. Replit provides a few web API endpoints via an environment variable that it maintains for your project, including:
GET $REPL_DB_URL: Insert a key and value into the datastore. The data passed with the body of this HTTP request iskey=value.GET $REPL_DB_URL/key: Retrieve the value associated with the key.DELETE $REPL_DB_URL/key: Delete the key from the datastore.
I have encapsulated these web calls [3] into a class called ReplDb that are provided in the following example project:
Version Control
Replit maintains a history of the revisions made to each project, but integrating with git provides an opportunity to teach the fundamentals and mechanics of version control. Under the Version Control left menu of the Replit project page, you can create a git repository as follows:
When the repository is created, you will see something like this:
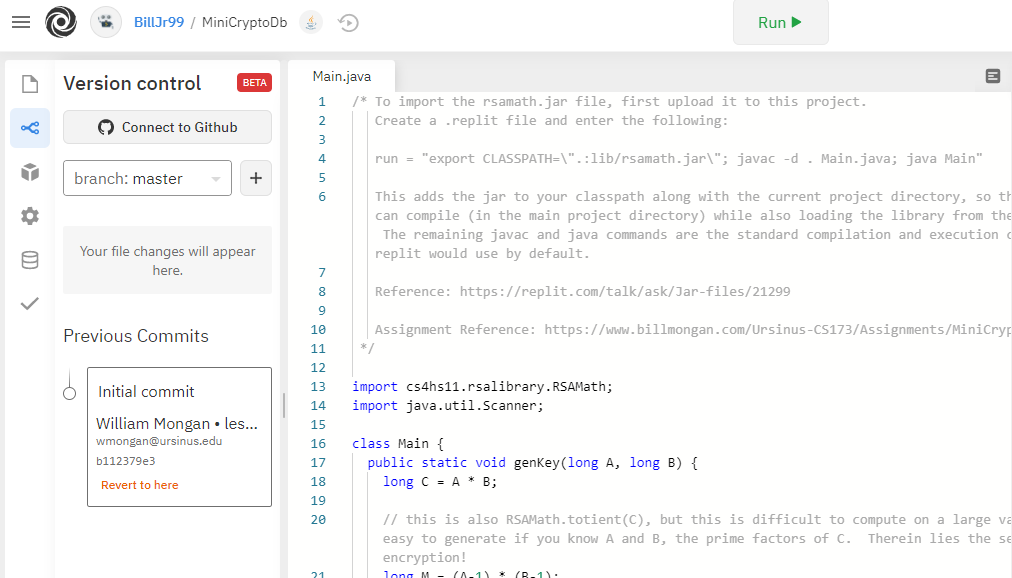
As you revise the project, you’ll have an opportunity to click to create a new revision, including a log message, that you can use to revert your project to any commit that you’ve made.
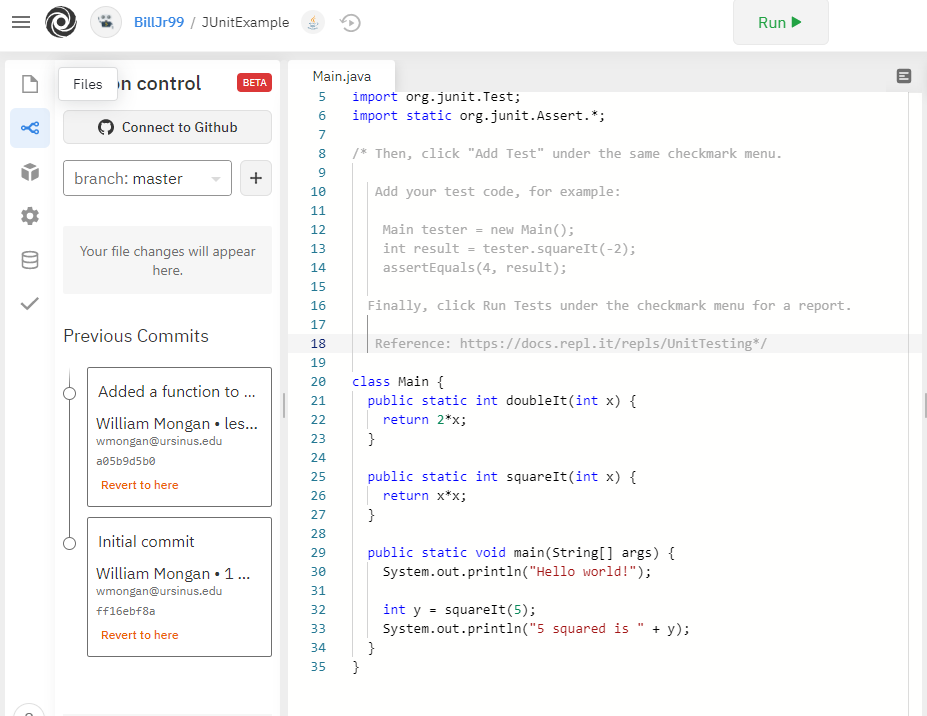
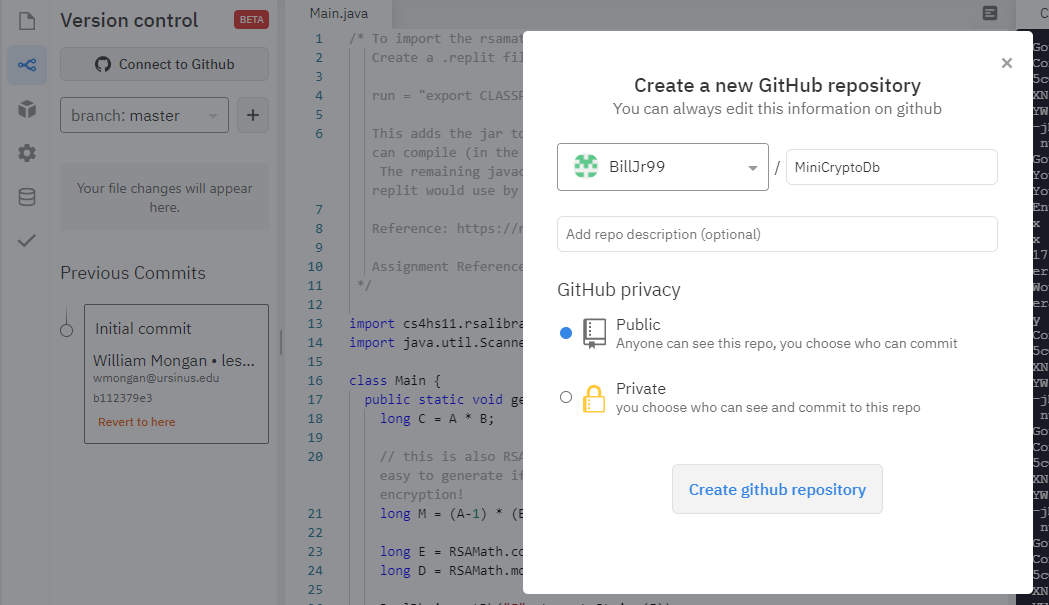
Finally, you can connect this repository to your GitHub account. This may not be appropriate for homework assignments so that they aren’t inadvertantly made public (more on this below!), but is a nice way to create a public portfolio of independent study projects and final course projects.
Using Graphics
Replit supports graphical displays through the browser! You can download Robert Sedgewick’s algs4.jar library [4] and add it to your project as we described above. Running the project will display the output window as a frame within your web browser.

Here is an example project demonstrating this [5].
Animations
You can use animations with this library as well! It’s a little slow through the browser, but you can clear the screen and draw lines iteratively to create fun animations. Here’s an example:
Unit Testing
We will see later that you can add your own unit tests and input/output tests in order to autograde a Replit project, but you can encourage students to create their own unit tests, too.
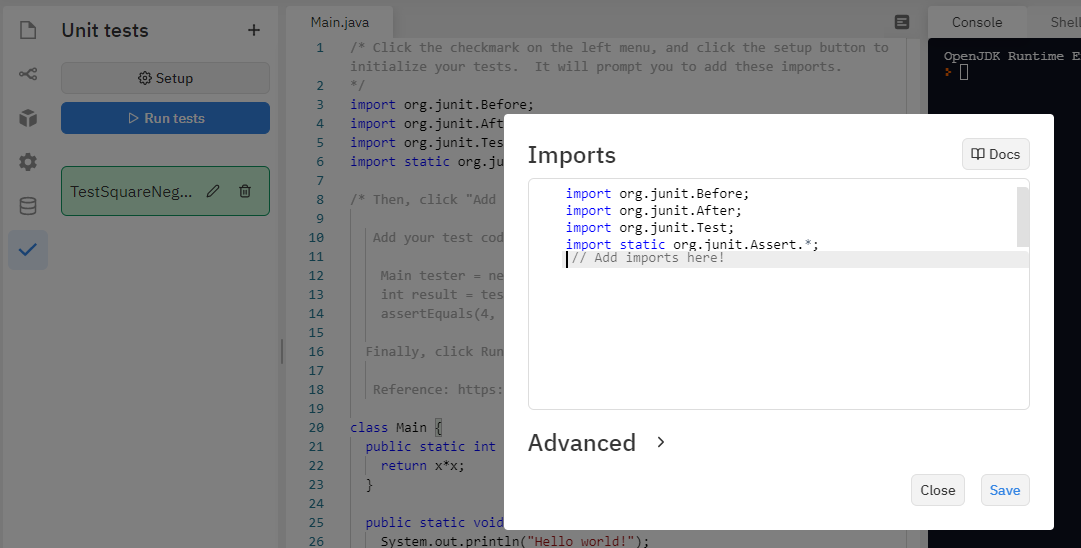
Click the checkmark on the left menu, and click the setup button to initialize your tests. It will prompt you to add these imports:
import org.junit.Before;
import org.junit.After;
import org.junit.Test;
import static org.junit.Assert.*;
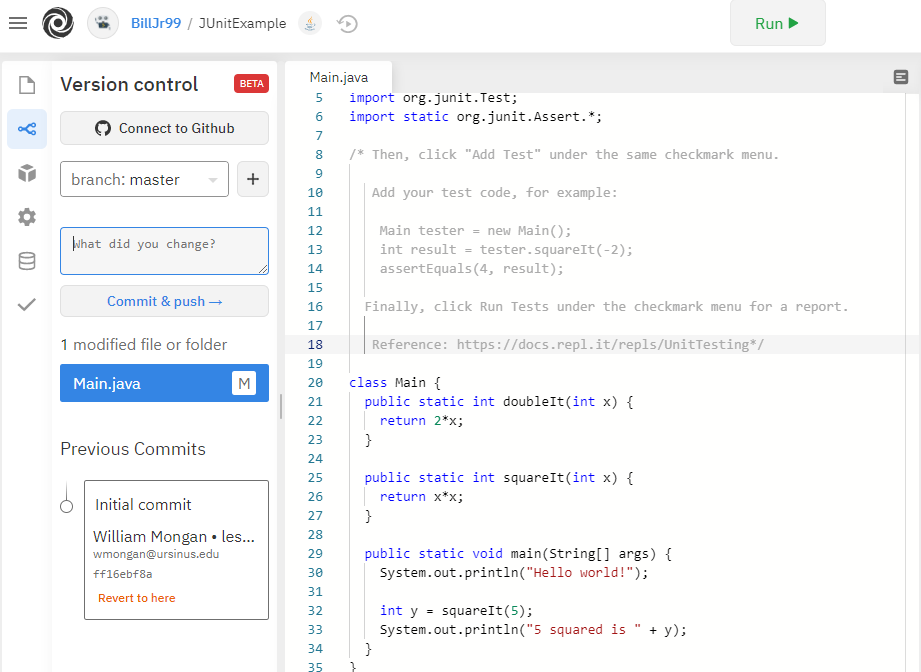
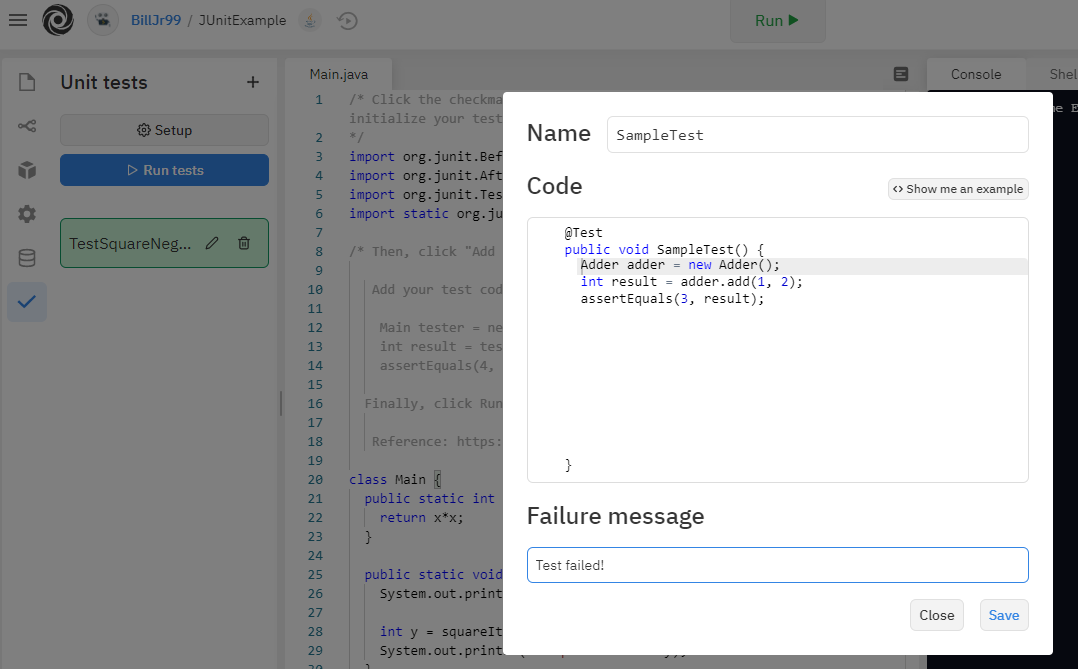
Then, click “Add Test” under the same checkmark menu. Add your test code, for example:
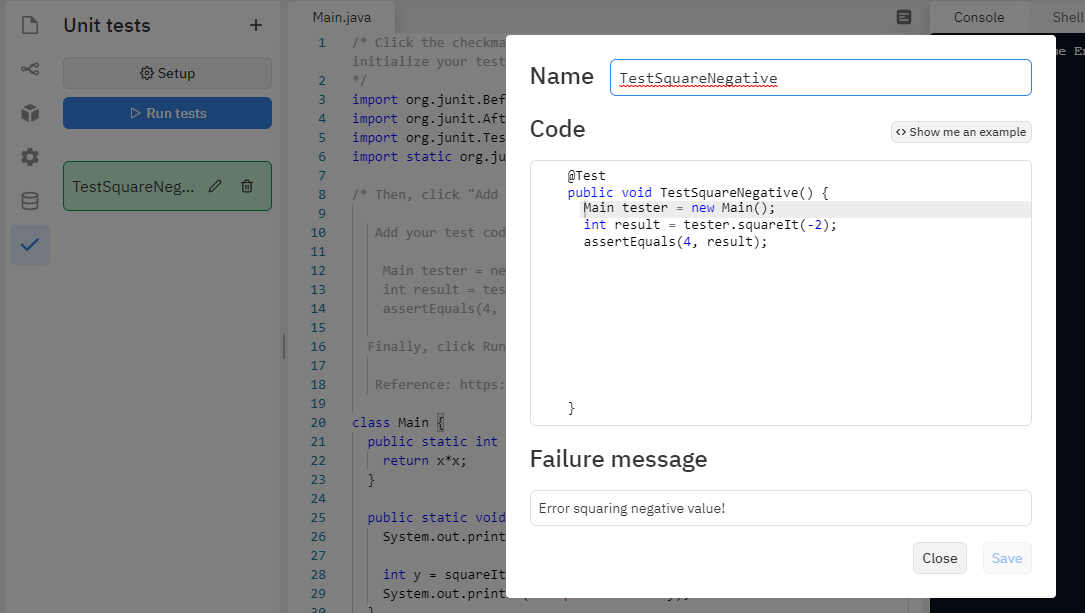
We will create the following test:
Main tester = new Main();
int result = tester.squareIt(-2);
assertEquals(4, result);
Finally, click Run Tests under the checkmark menu for a report. I have not found a way to export these tests for submission, but you could ask students to copy their test code snippets and a screenshot of their report for a low-tech solution.
Here is a quick example project demonstrating how to create and run a unit test:
If you are using a custom .replit file with external libraries, you can add this jar to your CLASSPATH in your .replit project: /run_dir/junit-4.12.jar.
Code Formatting
My students often miss the “auto-format” button on their Replit projects. This is a nice way to clean up things like indentation, and to demonstrate best practices. The button is located on the top right of the code window for the project.

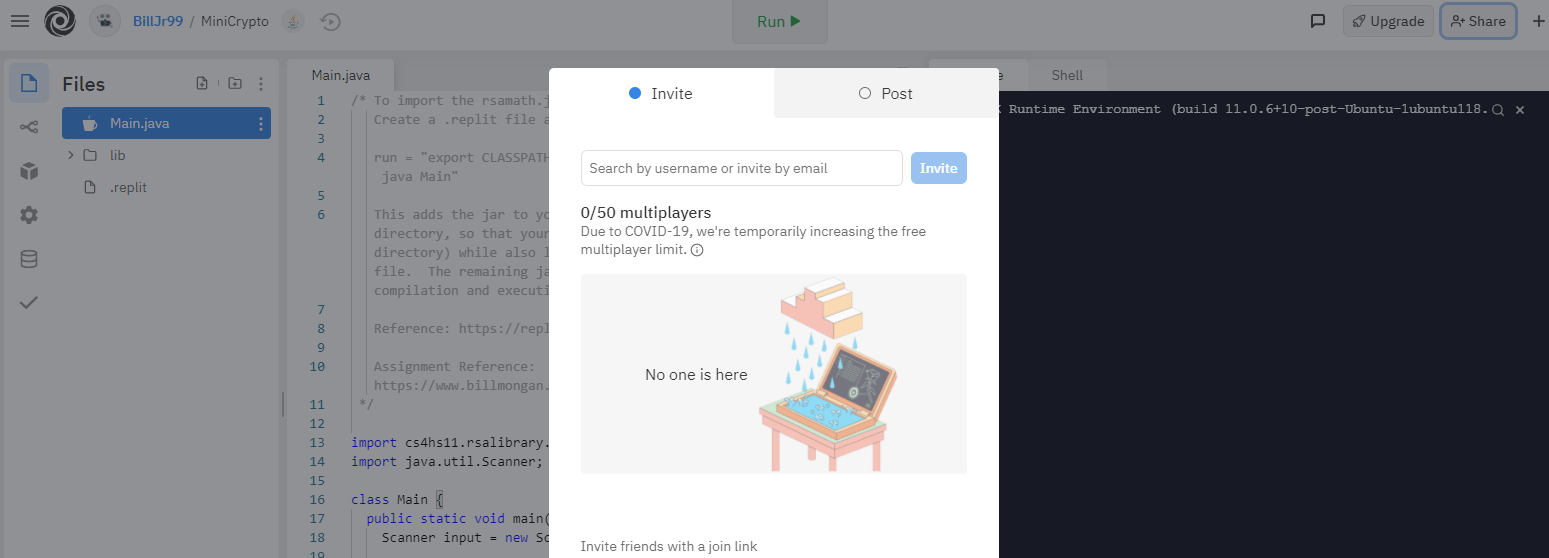
Pair Programming
Another often overlooked feature is project sharing functionality. Click the “Share” button on the top left of the Replit project to invite other users to pair program with you simultaneously. Note that this button might disappear if an ad-blocker plugin is used on the browser.
Embedding Replit into POGIL Style Activities
In my classes, I use a POGIL style method to facilitate class discussion. Instead of lecture notes, each class features some guiding questions, as well as some examples or materials to spark some curiosity and discussion. As you have seen in this article, I also embed Replit project examples that students can view, fork, modify, and share with me from within the activity page. You can do this by embedding an iframe in your web pages with a src tag indicating your Replit project URL (with ?lite=true at the end of the URL), as follows:
<iframe height="600px" width="100%" src="https://repl.it/@BillJr99/MiniCrypto?lite=true" scrolling="no" frameborder="no" allowtransparency="true" allowfullscreen="true" sandbox="allow-forms allow-pointer-lock allow-popups allow-same-origin allow-scripts allow-modals"></iframe>
There is a button at the top right of the frame to open the example in a new browser tab. Here is an example lesson.
Integrating Replit with GitHub Classroom
In addition to creating a version control repository, you can configure your assignments to automatically create repositories linked to your students’ Replit projects that are shared with you for grading and auto-grading. One nice feature of GitHub Classroom integration is that you can configure these repositories to be private (although making the underlying Replit projects private may require a paid subscription). I created a short video demonstrating how to set this up in a prior article.