
Integrating the micro:bit with VarIOT via ThingsBoard
Published:
In this article, we will integrate the BBC micro:bit with a ThingsBoard gateway called VarIOT.
If we have a VarIOT ThingsBoard gateway (which can be installed on a Raspberry Pi), we can connect it with a ThingsBoard server (one of which is hosted at Drexel Univesrity) to send telemetry data from IoT sensors that we can collect and evaluate using a micro:bit. For example, we could send environmental data like temperature or humidity, or biomedical data like one’s respiratory rate (or anything else you can imagine!).
Configuring a VarIOT Gateway
You can install VarIOT and the ThingsBoard software on a Raspberry Pi by following these instructions. These steps also describe how to connect a gateway to a ThingsBoard server.
Enabling Web Access to the Gateway
I edited the ~/thingsboard-gateway/thingsboard-gateway/thingsboard_gateway/config/tb-gateway.yaml configuration file on my Raspberry Pi and un-commented the code in the REST block to allow REST access from the micro:bit.
ThingsBoard provides an article describing how to configure the gateway and, specifically, how to configure RESTful access. You can add your own endpoints here following the template provided in the ~/thingsboard-gateway/thingsboard-gateway/thingsboard_gateway/config/rest.json file.
One thing that is required is to change the host name from 127.0.0.1 to 0.0.0.0 so that the endpoints are available from the outside world. I did not enable SSL, since I don’t have SSL built into the code of the HTTP extension driver. For this reason, I’m also not using a username or password, since these would be sent in clear text, but these are prototyping practices only (and not for production use!).
Connecting to a VPN
If needed, you can VPN to the ThingsBoard server by running: sudo openconnect -u <your user name> -b <vpn server name> on your Gateway Raspberry Pi. This will allow your gateway to connect to a server that is behind a VPN.
Testing the RESTful Configuration
In my rest.json file, I see that I have an endpoint called my_devices. This is not the most descriptive name, since it’s just a template, but rather than modify it, I’ll use it for this demo so that we have a proof of concept with minimal configuration effort. We can test this endpoint using a curl command from a terminal:
curl http://rpi4-variot:5000/my_devices -H "Content-Type: application/json" -X POST --data '{"temp": 25, "sensorName": "Mongan Gateway", "sensorType": "default", "sensorModel": "testmodel"}'
This endpoint is configured to map the temp parameter to the temperature telemetry value. For fun, I also send an attribute called model that is mapped to the sensorModel parameter in the configuration, and I will send the value testmodel. This can be left out. When I configured my Gateway, I called my gateway sensor Mongan Gateway, and so I will configure this as the sensorName as well.
Connecting the micro:bit to WiFi
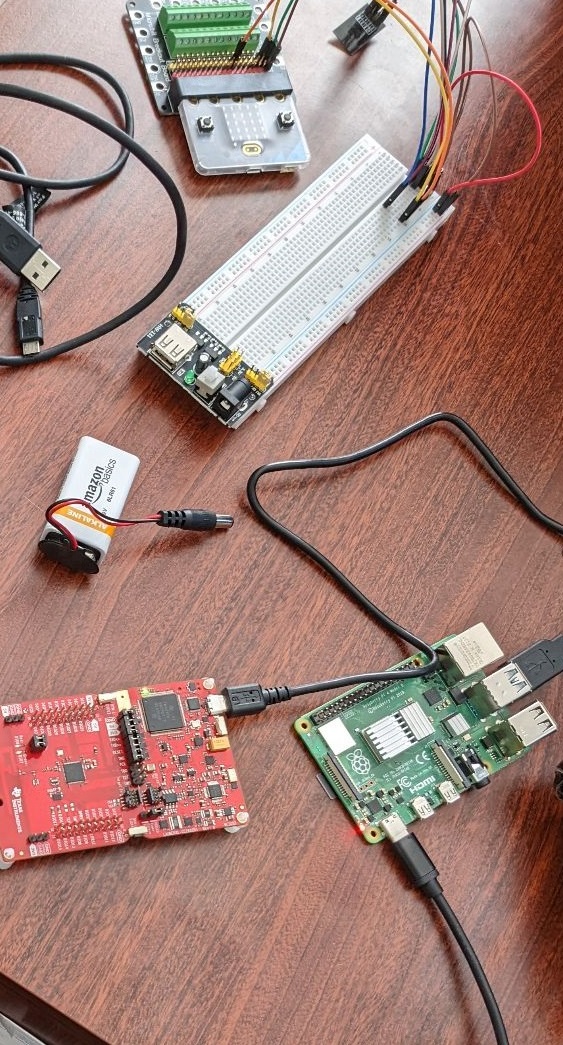
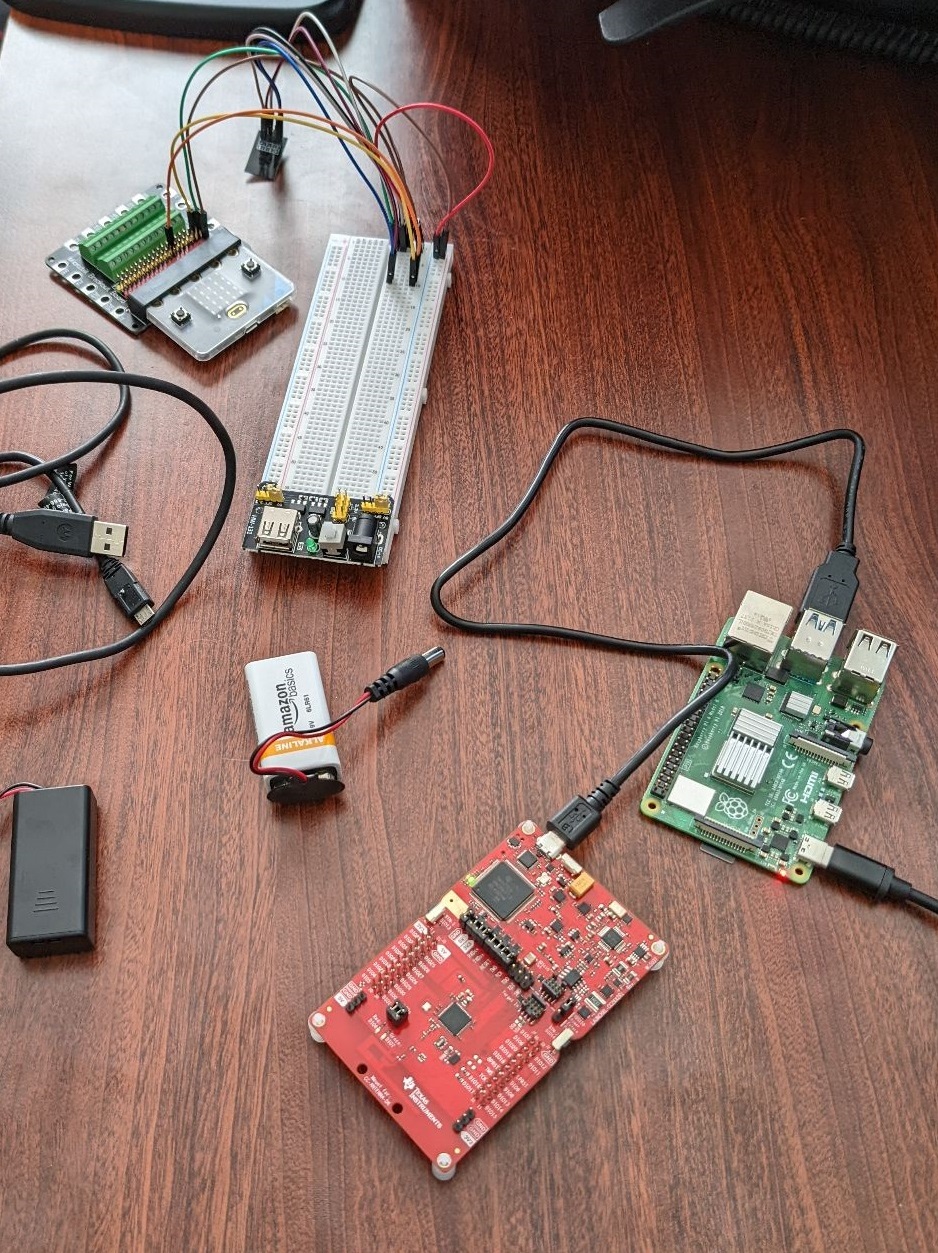
Next, we will connect the micro:bit to WiFi so that we can connect to the Internet and send telemetry data to the gateway. The instructions and diagrams provided by these instructions for a ThingSpeak board are exactly what we need. I did not bother connecting an LED or the USB, so only the connections to the ESP8266 WiFi module was needed.
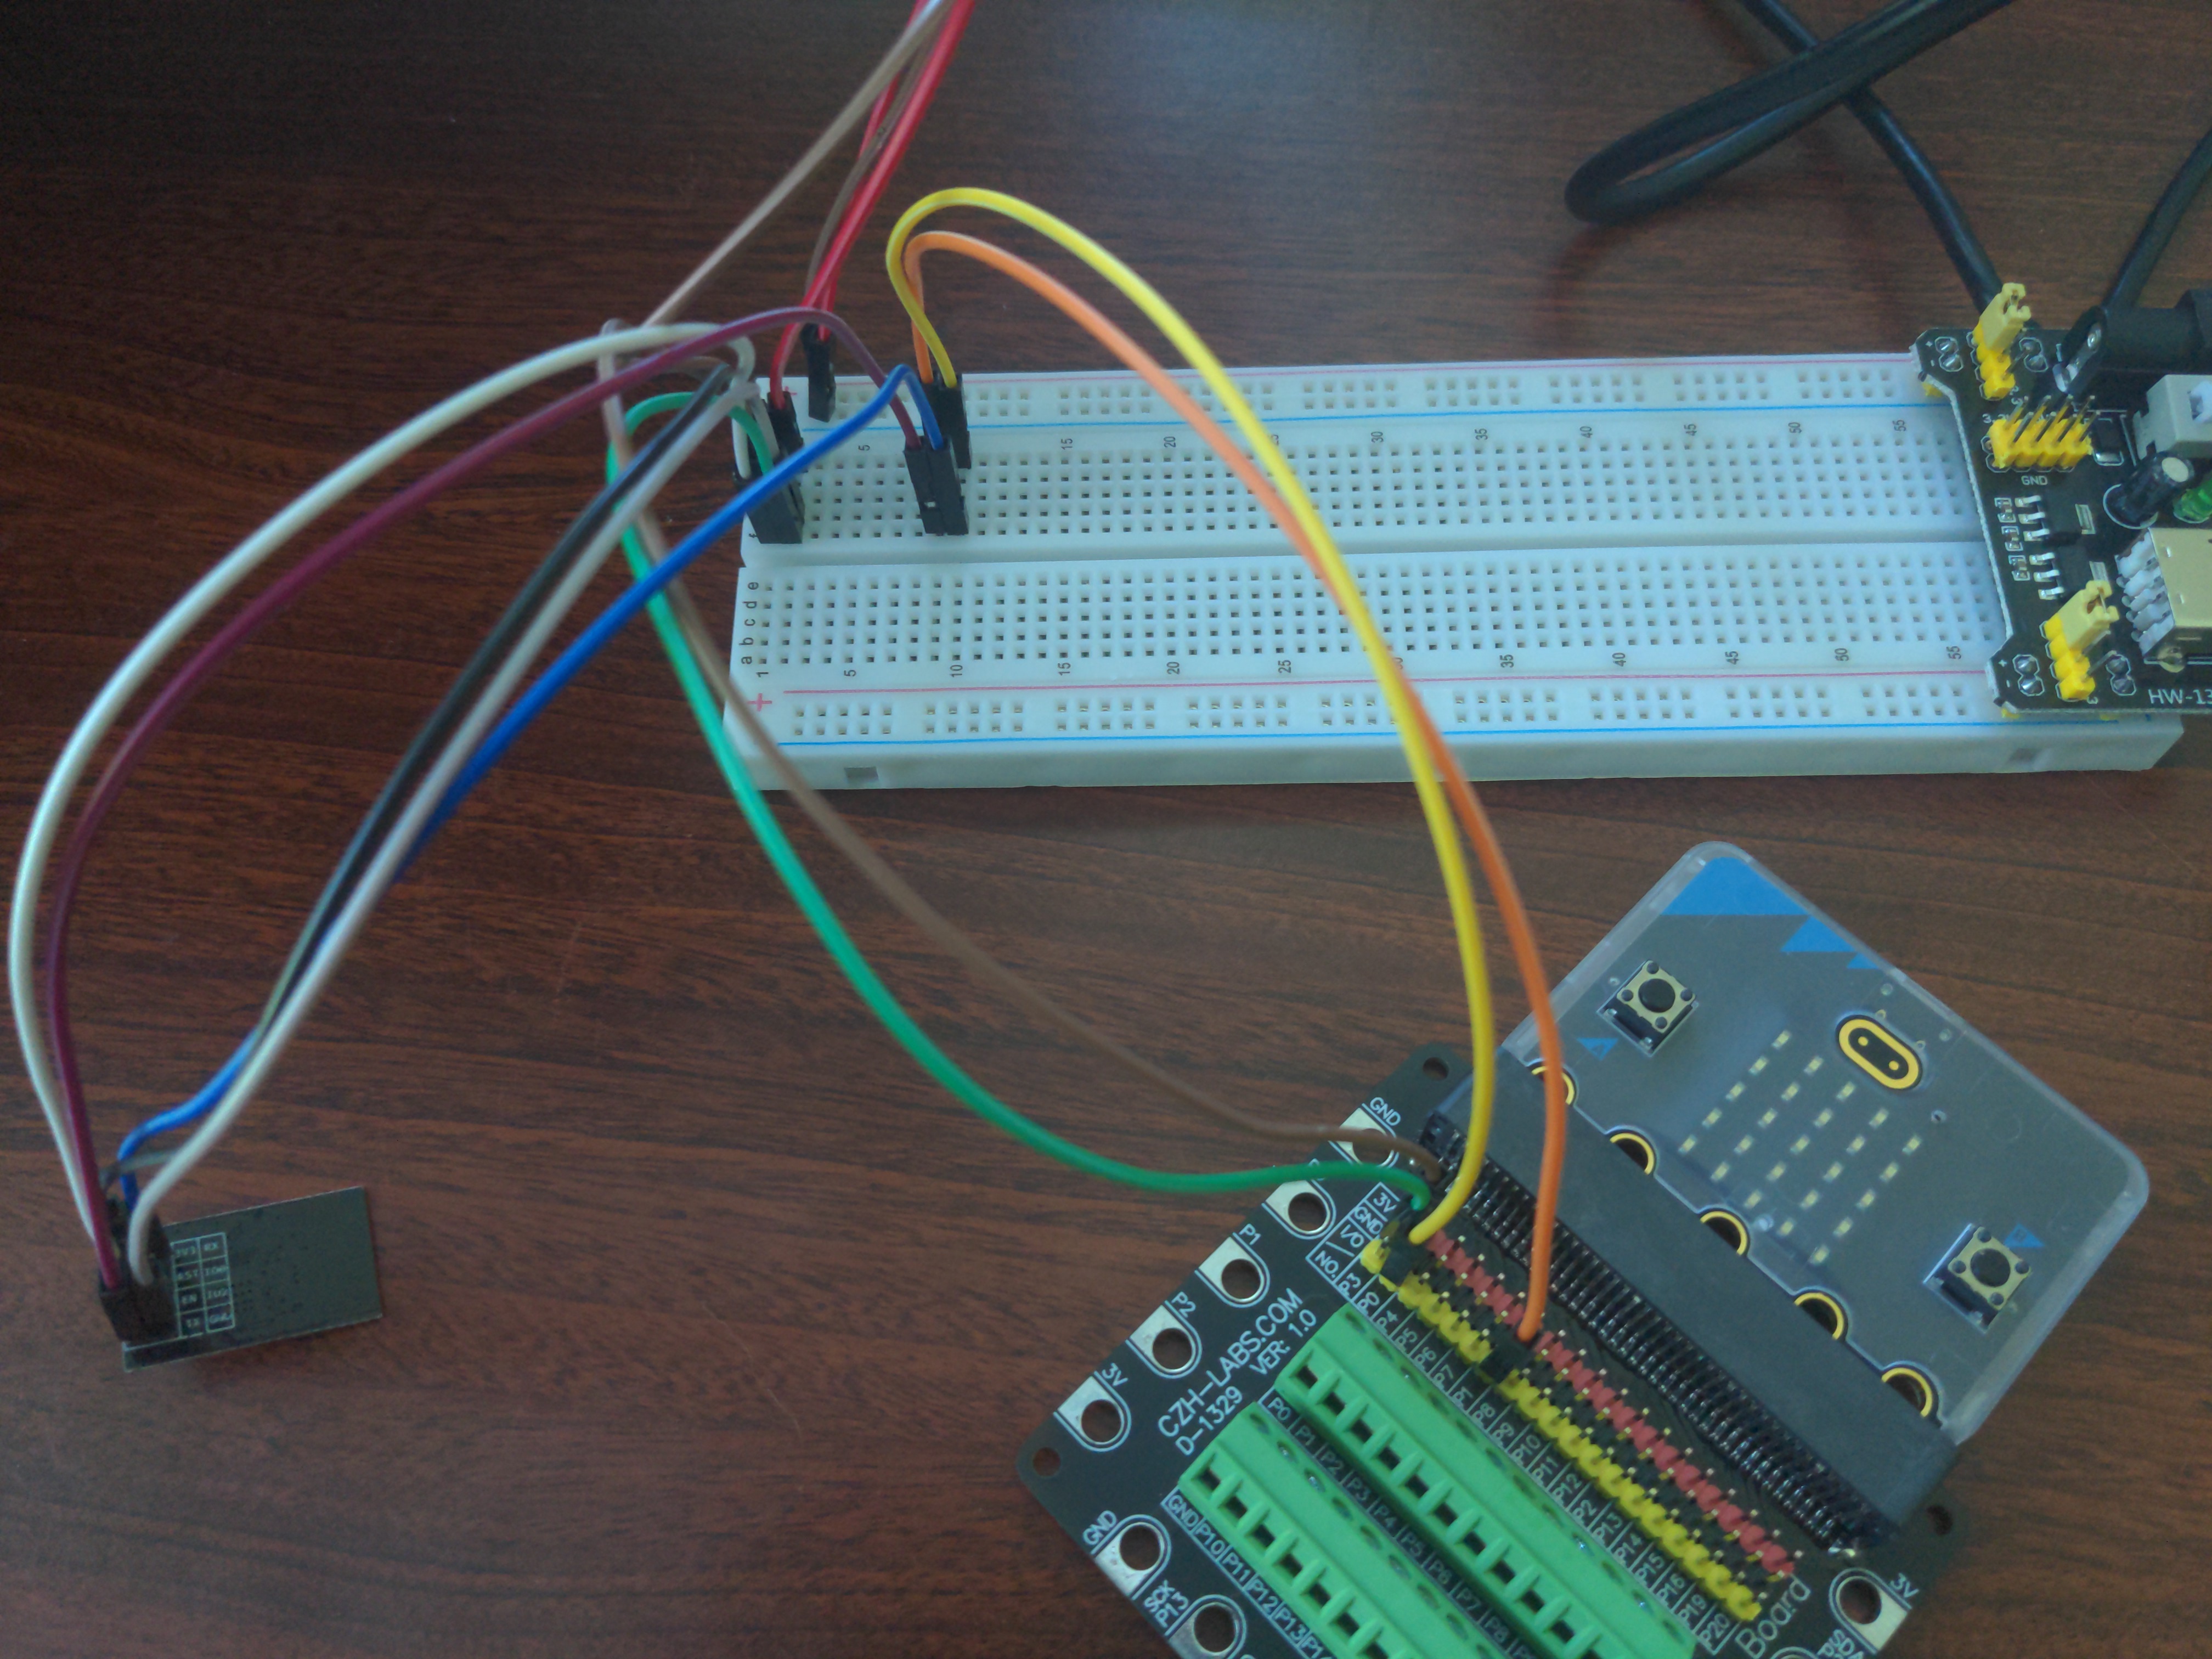
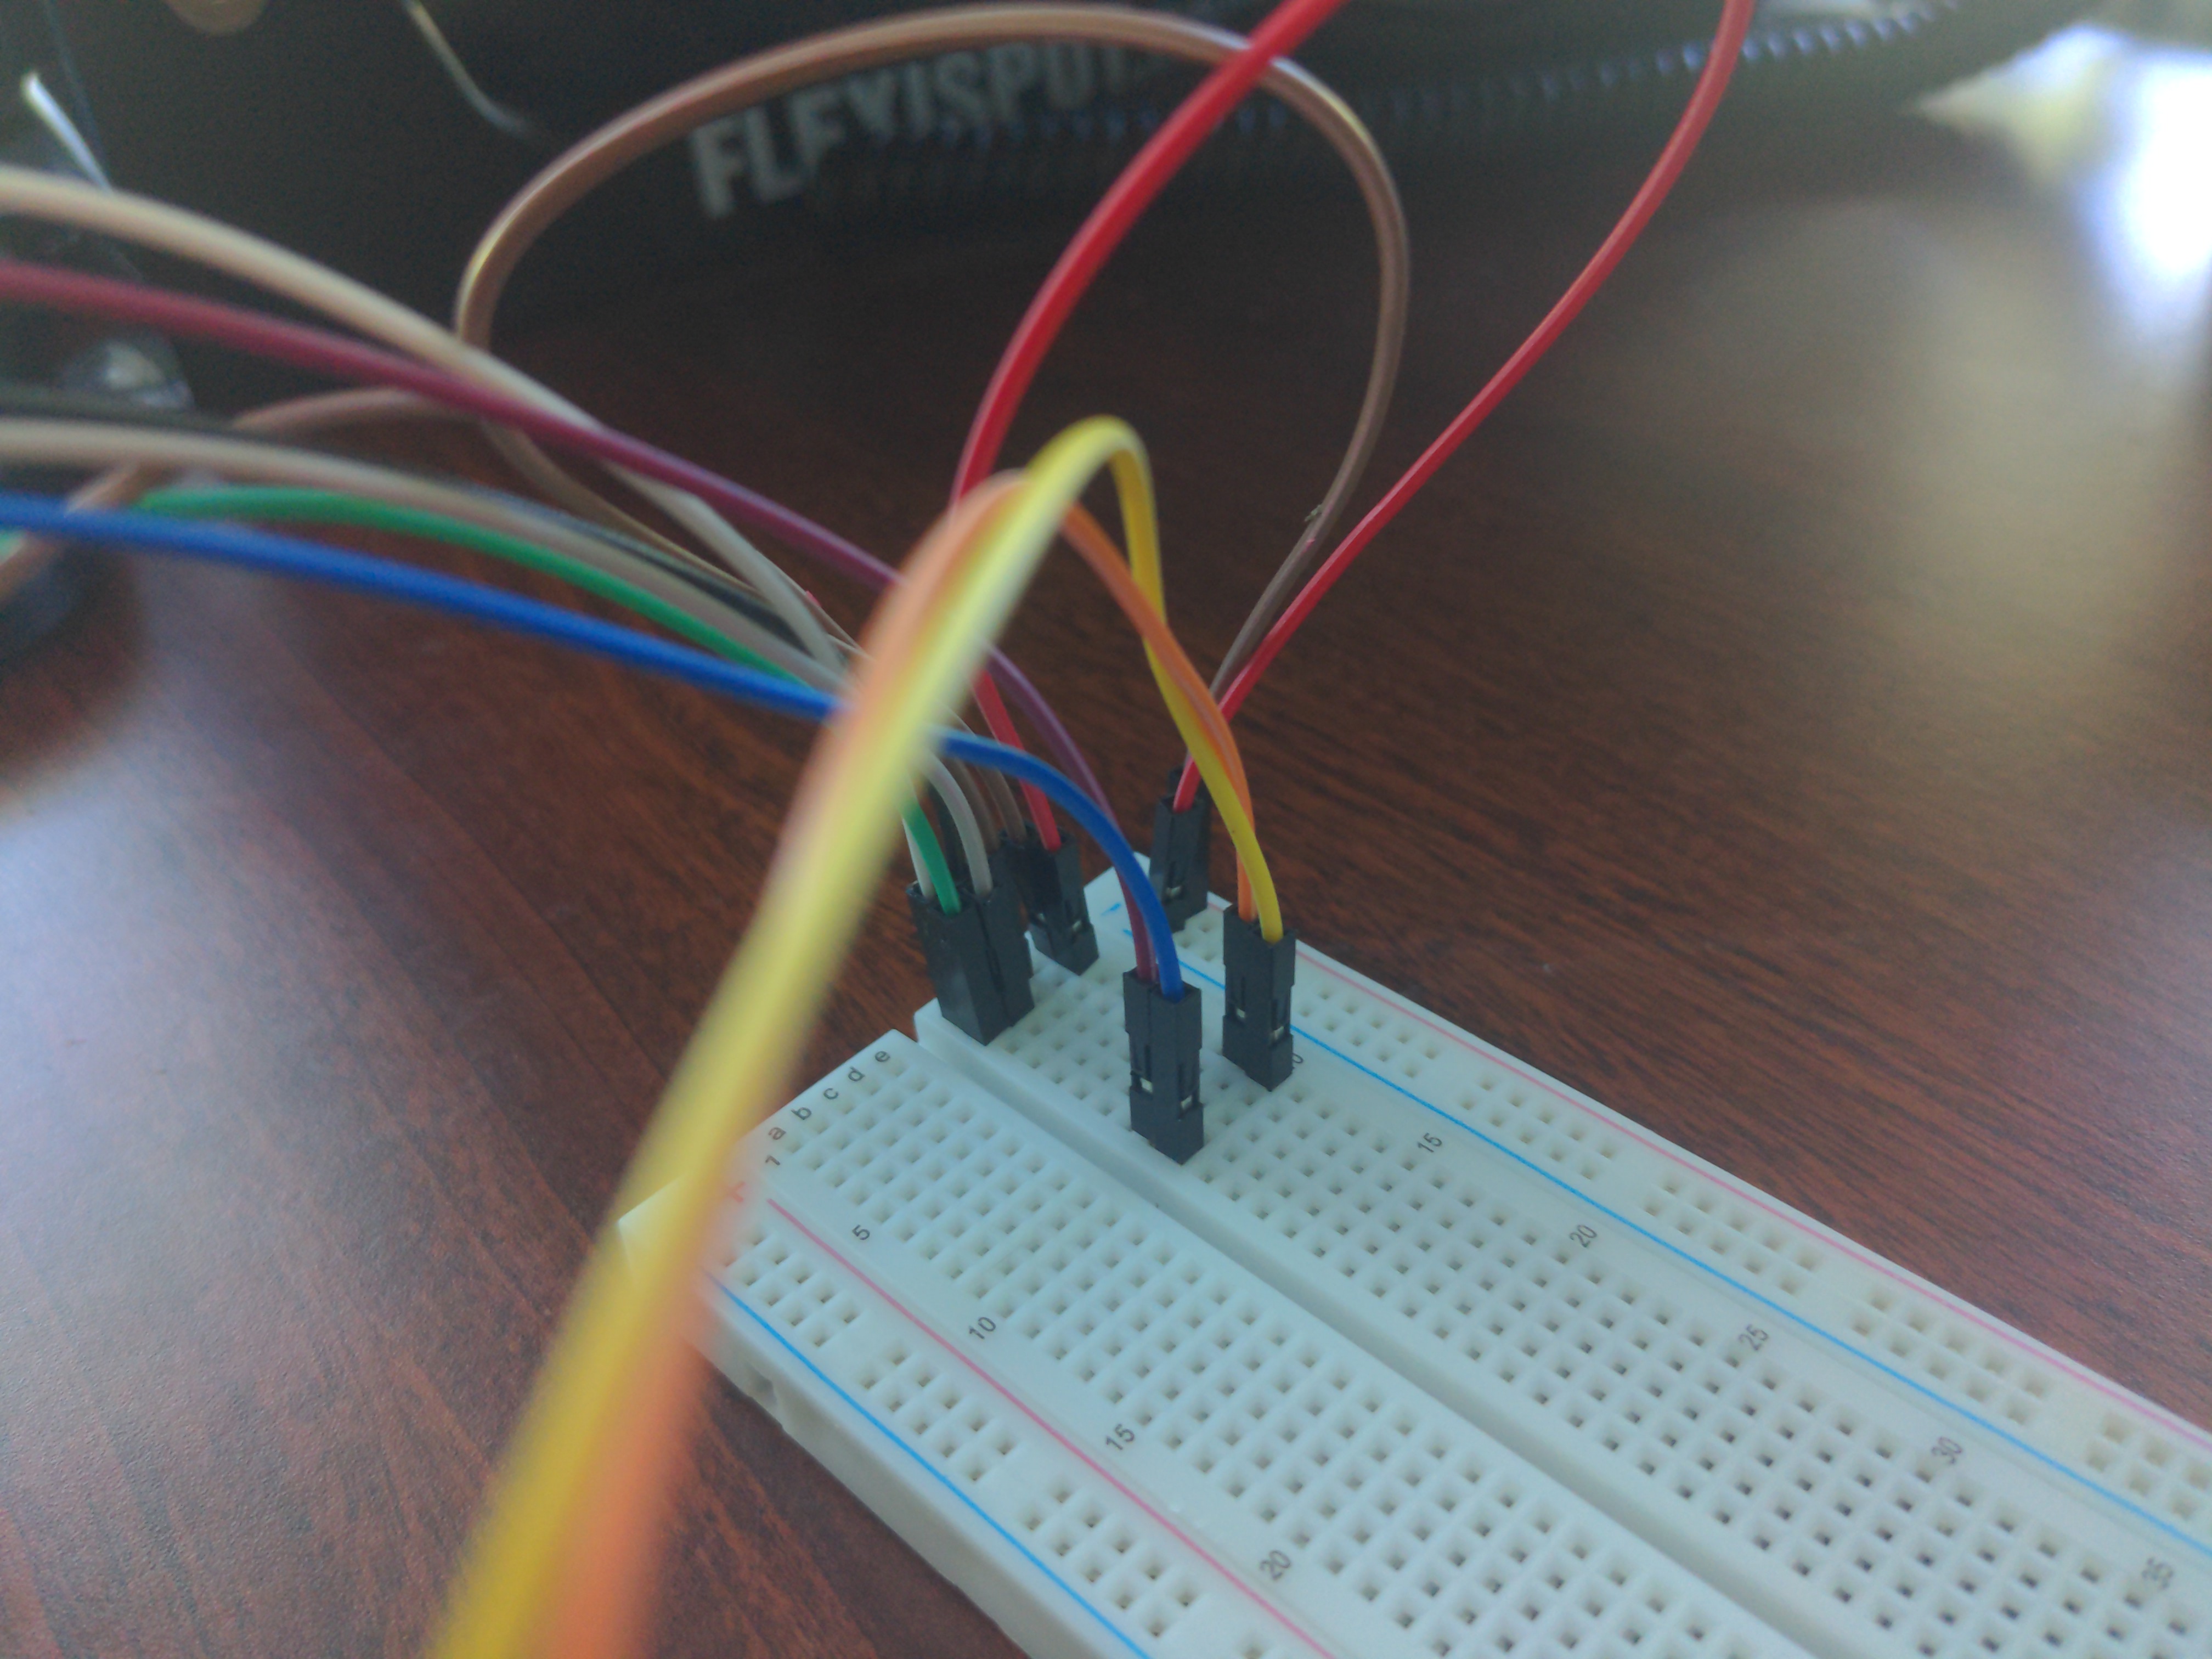
I used a breadboard, jumper wires, and an ESP8266 WiFi Module to do this, as well as a breadboard power supply. I also used a micro:bit breakout board so that I can connect jumper cables to the pins of the micro:bit from the breadboard, rather than needing to use the allegator clips to clamp to the metal pads. I’ll include links to the items I used.
I connected the Rx pin of the WiFi module to P0 of the micro:bit, the Tx pin to P1, VCC and CH_EN to the 3V pin for power, and ground to the ground pin, as shown in the diagrams of the wiring diagram and pinout (shown below; image credit Alan Krantas via the alankrantis/pxt-ESP8266_ThingSpeak GitHub repository under an MIT License):


Following these diagrams, I wired my WiFi module to the micro:bit as follows:

Writing the micro:bit Program
Finally, we can import this extension into a micro:bit project. To do this, create a micro:bit project at makecode.microbit.org and click the settings cog at the top right. Choose Extensions, and search for VarIOT. Alternatively, you can import this URL directly to import the extension from GitHub: https://github.com/BillJr99/pxt-ESP8266_VarIOT.
That’s it! You can now use VarIOT blocks to send data to the VarIOT gateway. There are three basic steps (and blocks) to do this:
on start: add anInitialize ESP8266block. The RX and TX pins should be set to P0 and P1, respectively (this seems backwards from the pinout wiring we did earlier, and that’s OK, because the Rx of the WiFi is the Tx of the micro:bit, and vice-versa!). Set your WiFi SSID and password here.- Also
on start, but after connecting to WiFi, add aConfigure VarIOT gateway locationblock and set the IP address and port of the VarIOT gateway. For me, that isrpi4-variotand5000, but this will depend on the IP address of the Raspberry Pi and the port used when configuring the gateway above. - Whenever you’d like, add an
Upload data to VarIOTblock and fill in the details. For me, I used the following settings from when I configured the gateway:Endpoint: my_devicesDevice Name: Mongan GatewayLabel: tempValue: 55
That should do it! When you view your gateway dashboard on the server, you should see this value appear. Here is the code:

Programming the micro:bit Extension to Connect to VarIOT
You don’t have to do this step, but if you’re interested, this section describes how I created the micro:bit extension blocks for use in your micro:bit program (to connect to VarIOT).
To do this, I forked the alankrantas/pxt-ESP8266_ThingSpeak repository into my own extension, which I call BillJr99/pxt-ESP8266_VarIOT, under an MIT license.
All of the original repository’s WiFi connection and TCP connection code applies here, so I was able to re-use that. In effect, we will run our cURL command that we saw above to send telemetry data to the Gateway, but we’ll get these values from a micro:bit! I moved this code into a function called doHTTP, and created blocks that send an HTTP request to post data from the micro:bit as follows:
    /**
    * Connect to VarIOT and upload data. It would not upload anything if it failed to connect to Wifi or VarIOT.
    */
    //% block="Upload data to VarIOT|Endpoint = %endpoint|Label = %label|Value = %value"
    //% endpoint.defl=mongan
    //% label.defl=temp
    //% value.defl=45
    export function sendVarIOTTelemetry(endpoint: string, label: string, value: number) {
        let body: string = "{\"" + label + "\": " + value + "}"
        let str: string = "POST /" + endpoint + " HTTP/1.1\r\n" + "Content-Type: application/json" + "\r\n" + "Content-Length: " + body.length + "\r\n\r\n" + body + "\r\n\r\n"
        doHTTP(str)
    }

    /**
    * Connect to VarIOT and upload data given a device name. It would not upload anything if it failed to connect to Wifi or VarIOT.
    */
    //% block="Upload data to VarIOT|Endpoint = %endpoint|Device Name = %devicename|Label = %label|Value = %value"
    //% endpoint.defl=mongan
    //% devicename.defl="Mongan Gateway"
    //% label.defl=temp
    //% value.defl=45
    export function sendVarIOTTelemetryByDeviceName(endpoint: string, devicename: string, label: string, value: number) {
        let body: string = "{\"" + label + "\": " + value + ", \"sensorName\": \"" + devicename + "\"}"
        let str: string = "POST /" + endpoint + " HTTP/1.1\r\n" + "Content-Type: application/json" + "\r\n" + "Content-Length: " + body.length + "\r\n\r\n" + body + "\r\n\r\n"
        doHTTP(str)
    }

    /**
    * Configure VarIOT gateway location
    */
    //% block="Configure VarIOT gateway location|URL/IP = %ip|Port = %port"
    //% ip.defl=rpi4-variot
    //% port.defl=5000
    export function configureVarIOT(ip: string, port: string) {
        variot_configured = true
        variot_ip = ip
        variot_port = port
    }